
Did you know that you can create high-quality clay at home using simple, everyday ingredients found in your kitchen? Whether you’re a parent looking for a fun activity to do with your kids, a teacher wanting to engage students with hands-on learning, or a hobbyist eager to explore a new craft, learning how to make clay at home can be a game-changer. Not only is it cost-effective and customizable, but it’s also an eco-friendly alternative to store-bought clays laden with chemicals. This guide will walk you through everything you need to know about making clay at home, from understanding the basics to trying out various recipes tailored to your needs.
Why Make Clay at Home?
Cost-Effective Solution
Store-bought clay can be expensive, especially if you’re working on large projects or frequently crafting. By making your own clay at home, you can cut costs significantly while producing enough material to suit your creative needs.
Customizable Recipes
One of the biggest perks of DIY clay is the ability to control its texture, color, and ingredients. Want glittery clay for a dazzling project? How about scented clay for an extra sensory experience? When you make clay at home, the possibilities are endless.
Eco-Friendly Option
Commercial clays often come in plastic packaging and may include non-biodegradable components. Homemade clay reduces waste, uses natural ingredients, and offers a more sustainable crafting option.
Fun Activity for All Ages
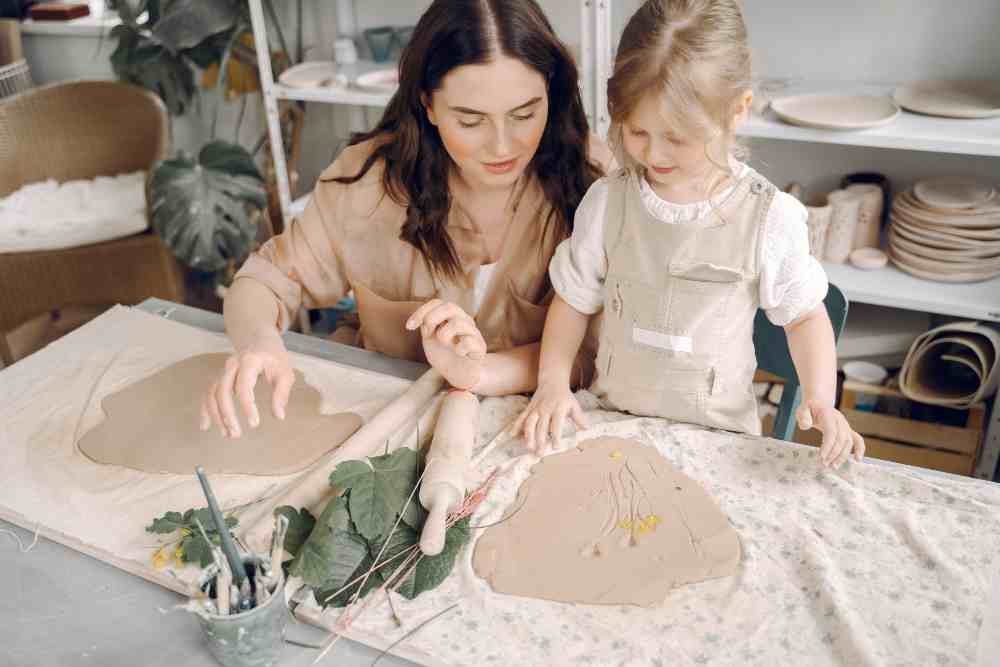
Making clay at home can be an enjoyable, hands-on experience for kids and adults alike. It encourages creativity, teamwork, and learning, making it perfect for family bonding or classroom activities.
Types of Homemade Clay
Air-Dry Clay
This type of clay is perfect for lightweight projects that can harden naturally over time. It’s ideal for ornaments, simple sculptures, and decorations.
Salt Dough Clay
Made with just flour, salt, and water, salt dough is easy to bake for added durability. It’s popular for handprint keepsakes and other creative crafts.
Cold Porcelain Clay
Known for its smooth finish and ability to capture fine details, this clay is great for intricate sculptures, flowers, and jewelry.
Polymer-Like Clay
A durable, oven-baked alternative to store-bought polymer clay. This type is excellent for more complex projects that require added strength.
Benefits of Each Type
Each type of clay offers unique benefits and is suited for different projects, so you can choose the one that best fits your creative vision.
Essential Ingredients and Tools
Common Ingredients
- Flour: Provides structure to your clay.
- Salt: Strengthens the mixture and helps preserve it.
- Water: Ensures proper hydration for malleability.
- Cornstarch: Adds a smooth texture.
- Baking Soda: Ideal for air-dry clay recipes.
Optional Additives
- Food Coloring: For vibrant, customizable colors.
- Essential Oils: To add pleasant scents.
- Glitter: To give your clay a sparkly finish.
Tools You’ll Need
- Mixing Bowls: For combining ingredients.
- Measuring Cups and Spoons: Ensures accuracy in your recipes.
- Non-Stick Surface: Prevents sticking while kneading.
- Rolling Pins: Useful for flattening clay.
- Airtight Containers: To store clay and keep it fresh.
Safety Tips
Always supervise children during clay-making activities, especially when using heated tools or small items like glitter that could pose a choking hazard.
Step-by-Step Guide: How to Make Clay at Home
Recipe 1: Air-Dry Clay
Ingredients: 2 cups baking soda, 1 cup cornstarch, 1.5 cups water.
Steps:
- Combine baking soda and cornstarch in a pot.
- Gradually add water while stirring.
- Cook over medium heat until the mixture thickens.
- Let it cool, then knead until smooth.
Storage: Store in an airtight container to prevent drying out.
Recipe 2: Salt Dough Clay
Ingredients: 2 cups flour, 1 cup salt, 1 cup water.
Steps:
- Mix flour and salt in a bowl.
- Gradually add water while kneading until you achieve a dough-like consistency.
- Shape and bake at 200°F for 2-3 hours.
Craft Idea: Use cookie cutters to make ornaments and paint them once cooled.
Recipe 3: Cold Porcelain Clay
Ingredients: 1 cup cornstarch, 1 cup white glue, 1 tbsp baby oil, 1 tbsp lemon juice.
Steps:
- Mix all ingredients in a non-stick pan.
- Heat on low, stirring constantly, until the mixture forms a dough.
- Cool and knead until smooth.
Tip: Wrap tightly in plastic wrap to prevent drying.
Bonus Tips
- If your clay is too sticky, add a small amount of flour or cornstarch.
- For clay that’s too dry, knead in a few drops of water or oil.
- Adjust recipes based on humidity in your environment.
Coloring and Customization Techniques
Natural Coloring Methods
Food coloring, liquid watercolors, and natural dyes like beet juice or turmeric can be mixed into your clay for vibrant hues.
Advanced Customization
Add glitter for sparkle, essential oils for pleasant scents, or texture elements like sand for a unique finish.
Color Blending Tips
Experiment with primary color mixing, marbling effects, or ombre gradients to create stunning designs.
Storage and Preservation
Short-Term Storage
Keep clay in airtight containers at room temperature to prevent it from drying out.
Long-Term Storage
Refrigerate or freeze clay for extended freshness. Label containers to track batches and avoid mix-ups.
Tips for Maintaining Clay Quality
- Prevent hardening by adding a damp cloth to the container.
- Rehydrate dried clay with a few drops of water or oil.
- Discard clay showing signs of mold or spoilage.
Project Ideas and Applications
Beginner Projects
- Simple hand-molded shapes.
- Basic ornaments.
- Fun figurines.
Intermediate Projects
- Textured sculptures.
- Jewelry pieces.
- Functional items like bowls or coasters.
Advanced Projects
- Detailed figurative sculptures.
- Complex artistic installations.
- Miniature models for dioramas.
Safety and Health Considerations
Ingredient Safety
Use non-toxic, food-safe ingredients, especially for projects involving children.
Handling Precautions
Avoid ingesting clay and wash hands thoroughly after crafting.
Storage Safety
Properly label and store clay to keep it out of reach of children and pets.
Key Takeaways
- Making clay at home is cost-effective, customizable, and eco-friendly.
- There are various types of homemade clay, each suited for different projects.
- With simple ingredients and tools, you can create versatile clays for crafting.
- Proper storage and safety practices ensure long-lasting, enjoyable use.
Conclusion
Creating your own clay at home opens up a world of creative possibilities. From crafting memorable keepsakes to exploring intricate sculptures, homemade clay empowers you to experiment and express yourself while saving money and reducing waste. Whether you’re crafting with kids, teaching a classroom, or pursuing a personal hobby, this guide equips you with the knowledge and confidence to get started. So gather your ingredients, roll up your sleeves, and dive into the rewarding world of DIY clay-making!