

Introduction
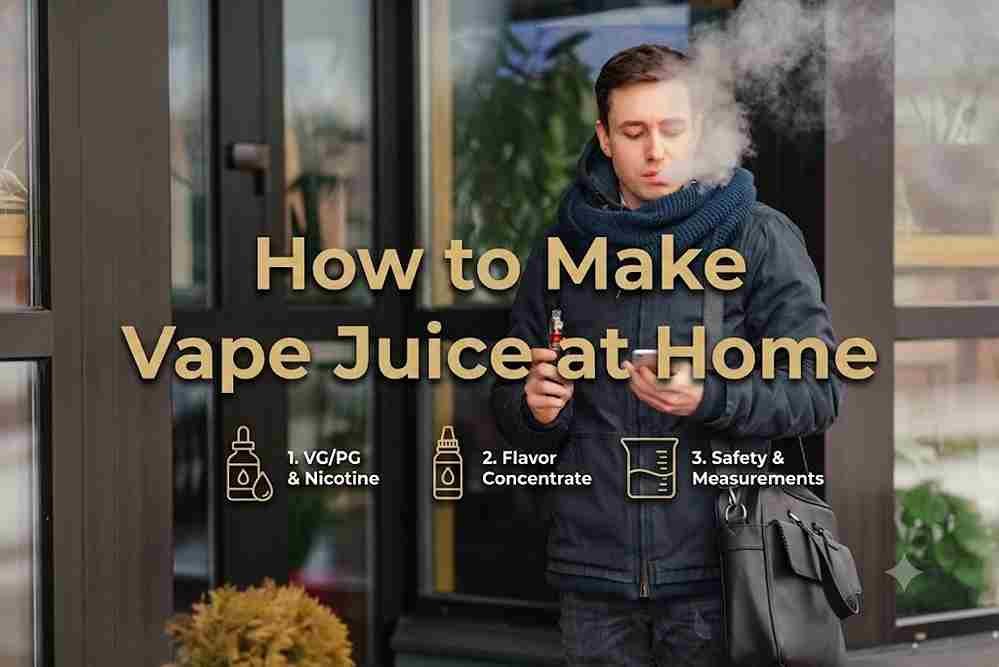
Have you ever wondered how to make vape juice at home and customize every puff to your liking? It’s not as complicated as you might think! With the right materials, a little patience, and some creativity, you can make high-quality vape juice at home that’s tailored to your preferences.
This guide will walk you through everything you need to know, from gathering the ingredients and tools to understanding the step-by-step process of mixing your own e-liquid. Plus, we’ll discuss important safety precautions to help you avoid common mistakes. By the end, you’ll be ready to start crafting vape juice that’s cost-effective, customizable, and satisfying.
What is Vape Juice?
Defining Vape Juice
Vape juice, also known as e-liquid, is the liquid used in vape devices to produce vapor. It typically consists of four main ingredients: Propylene Glycol (PG), Vegetable Glycerin (VG), flavor concentrates, and nicotine (optional). Each ingredient plays a specific role in creating the vaping experience, from flavor to throat hit and vapor production.
How Vape Juice Works
When vape juice is added to a vaping device, it is heated by a coil to create vapor. PG and VG serve as the base liquids that carry the flavor and nicotine, while the heating process allows the vapor to be inhaled.
Types of Vape Juice
- High-VG Blends: Ideal for those who enjoy large vapor clouds and a smoother throat hit.
- High-PG Blends: Great for strong flavor and a more pronounced throat hit.
- Nicotine Salt E-Liquids: Designed for higher nicotine levels with a smoother inhale, typically used in low-wattage devices.
Benefits of Making Vape Juice at Home
Cost-Effectiveness
Buying pre-made e-liquids can add up quickly, especially for frequent vapers. Making vape juice at home allows you to save money by purchasing ingredients in bulk and mixing only what you need.
Customization
One of the best parts of DIY vape juice is the ability to customize it. You can adjust the VG/PG ratio, flavor intensity, and nicotine levels to suit your preferences. Whether you prefer a fruity flavor or a rich dessert profile, the possibilities are endless.
Control Over Ingredients
Making vape juice at home gives you complete control over what goes into your e-liquid. You can ensure you’re using high-quality, food-grade ingredients while avoiding additives or allergens that may be present in store-bought options.
Sustainability
DIY vape juice is more environmentally friendly because you can reuse bottles and produce only what you need, reducing unnecessary waste.
A Fun DIY Project
Mixing your own e-liquid can be a creative and enjoyable hobby. Experimenting with different flavors and combinations can be both fun and rewarding.
Materials and Ingredients Needed
Essential Ingredients
- Propylene Glycol (PG): A thinner liquid that delivers a stronger throat hit and carries flavors effectively.
- Vegetable Glycerin (VG): A thicker liquid that produces large vapor clouds and provides a smoother inhale.
- Flavor Concentrates: Food-grade flavorings specifically designed for vaping.
- Nicotine (Optional): Liquid nicotine for those who prefer it, though it must be handled with care.
Tools and Equipment
- Measuring syringes or pipettes for accurate measurements.
- Small bottles (preferably glass) for mixing and storage.
- Gloves and safety goggles to handle nicotine safely.
- A digital scale for precise measurements (optional).
Optional Additives
- Sweeteners like ethyl maltol for sweeter flavors.
- Cooling agents like menthol for a refreshing effect.
Where to Source Materials
You can purchase ingredients and tools from online retailers specializing in vaping supplies or from reputable stores that sell food-grade or pharmaceutical-grade products.
Safety Precautions Before You Start
Handling Nicotine Safely
Nicotine is highly toxic in concentrated forms, so safety is crucial. Always wear gloves and goggles when handling nicotine, and keep it out of reach of children and pets.
Work in a Ventilated Area
Ensure you’re working in a well-ventilated space to avoid inhaling any fumes, particularly when using nicotine.
Labeling and Storage
Clearly label all bottles with their contents and the date they were mixed. Store vape juice and ingredients in a cool, dark place away from sunlight and heat.
Avoid Cross-Contamination
Use separate syringes or pipettes for each ingredient to prevent mixing flavors unintentionally.
Step-by-Step Guide: How to Make Vape Juice at Home
Step 1: Decide on the Ratio
- VG/PG Ratio: Choose a ratio based on your vaping preferences. High VG (70/30) is ideal for smoother hits and bigger vapor clouds, while High PG (50/50) provides stronger throat hits and more intense flavors.
Step 2: Measure Ingredients
Use a digital scale or syringes to measure your ingredients accurately. For example, in a 30ml bottle, a 70/30 VG/PG ratio might include 21ml of VG, 9ml of PG, and around 1.5-3ml of flavor concentrate.
Step 3: Add Flavor Concentrates
Add your chosen flavor concentrates to the mix. Use 5%-15% of the total volume for most flavorings. You can mix single flavors or combine multiple ones to create custom blends.
Step 4: Add Nicotine (Optional)
For those who use nicotine, calculate the desired strength using an online nicotine calculator. Carefully add the liquid nicotine to your mix, ensuring precise measurements for safety and consistency.
Step 5: Mix the Ingredients
Thoroughly combine all ingredients by shaking the bottle vigorously for several minutes to ensure they are evenly distributed.
Step 6: Steep the Vape Juice (Optional)
Steeping enhances the flavor by allowing the ingredients to meld together. Fruit flavors usually require 1-3 days, while dessert or tobacco flavors may need 1-2 weeks. Store the bottle in a cool, dark place during this time and shake it periodically.
Step 7: Test and Adjust
Test your vape juice and make small adjustments to the flavor or nicotine levels as needed. Write down your recipe to replicate it in the future.
Common Mistakes to Avoid When Making Vape Juice at Home
Using Too Much Flavoring
Over-flavoring can result in a harsh or unbalanced taste. Stick to recommended percentages to avoid overpowering your mix.
Skipping Safety Measures
Handling nicotine carelessly can be dangerous. Always wear gloves and goggles and follow safety protocols.
Not Labeling Bottles
Failing to label your bottles can lead to confusion or accidental misuse. Always include the ingredients and date on your labels.
Improper Measurements
Inaccurate measurements can affect the taste and performance of your vape juice. Use tools like syringes or a digital scale for precision.
Using Ingredients Not Intended for Vaping
Avoid using non-food-grade flavorings or oils, as they can be harmful when inhaled.
Tips for Experimenting and Customizing Vape Juice
Start Small
Begin with small batches (e.g., 10ml) to test flavors and ratios before committing to larger quantities.
Experiment with Flavors
Combine complementary flavors like strawberry and cream or menthol and fruit. Adjust sweetness or cooling effects with additives to find your perfect blend.
Keep a Recipe Log
Write down your measurements and any adjustments to ensure you can recreate successful recipes.
Test in Different Devices
Different vape devices can affect how flavors and vapor production perform. Test your e-liquid in various devices to find the best match.
Conclusion
Learning how to make vape juice at home is a rewarding and cost-effective way to enhance your vaping experience. By following the proper steps, experimenting with flavors, and prioritizing safety, you can create custom e-liquids that suit your preferences and save you money.
Start small, have fun with the process, and enjoy the satisfaction of crafting your own unique vape juice. Share this guide with others interested in DIY vaping, and don’t forget to explore more tips and recipes on our blog.
