
Introduction
Have you ever considered giving your firearms, tools, or other pieces of equipment a professional-grade finish from the comfort of your home? Cerakote is one of the most durable and aesthetically pleasing coatings available, known for its ability to protect surfaces from wear, corrosion, and heat. Whether you’re a gun enthusiast, a DIY hobbyist, or someone looking for a way to preserve and customize your items, learning how to Cerakote at home can be a rewarding experience.
Not only does DIY Cerakoting save you money, but it also gives you the freedom to personalize your items with unique colors and designs. In this guide, we’ll cover everything you need to know—from the tools required to step-by-step instructions—so you can achieve professional results right in your own workspace.
What is Cerakote?
Defining Cerakote
Cerakote is a ceramic-based coating known for its exceptional durability, resistance to corrosion, and versatility. It’s commonly used on firearms, knives, automotive parts, and tools to enhance their longevity and provide a sleek, customized finish.
Benefits of Cerakote
Cerakote offers several advantages over other coatings:
- Durability: It provides a hard, long-lasting finish that resists scratches, chips, and wear.
- Corrosion Resistance: Protects metal surfaces from rust and harsh environmental conditions.
- Heat Resistance: Ideal for high-temperature applications, such as automotive parts or firearms.
- Customization: Available in a wide range of colors and finishes to suit your personal style.
Applications of Cerakote
This versatile coating can be applied to a variety of materials, including metal, plastic, and polymer. It’s commonly used on items such as:
- Firearms and gun components.
- Knives and tools.
- Automotive and motorcycle parts.
- Outdoor equipment like fishing reels or flashlights.
With so many uses, it’s no wonder Cerakote has gained widespread popularity among DIYers and professionals alike.
Can You Cerakote at Home?
DIY Cerakoting: Is It Possible?
Yes, you can Cerakote at home! With the right tools, preparation, and patience, you can achieve high-quality results comparable to professional services. While there’s a learning curve involved, many find the process rewarding and cost-effective.
Advantages of DIY Cerakoting
- Cost Savings: Professional Cerakoting services can be expensive, but doing it yourself significantly reduces costs.
- Creative Control: DIY allows you to experiment with colors, patterns, and designs for a truly personalized finish.
- Skill Development: Learning how to Cerakote at home is a valuable skill for anyone interested in DIY projects or customizing equipment.
Challenges to Keep in Mind
While Cerakoting at home has its benefits, it’s important to be aware of the potential challenges:
- Learning Curve: The process requires attention to detail and practice to perfect.
- Specialized Equipment: Some tools, such as a sandblaster and curing oven, are essential for best results.
- Safety Precautions: Handling chemicals and high heat requires proper protective gear and a well-ventilated workspace.
Tools and Materials Needed to Cerakote at Home
Essential Tools and Supplies
To successfully Cerakote at home, you’ll need the following tools and materials:
- Cerakote Coating: Choose the appropriate type for your project (e.g., H-Series for heat-cured applications or C-Series for air curing).
- Spray Gun or Airbrush: For precise application of the coating.
- Air Compressor: To power the spray gun or airbrush.
- Sandblaster and Blasting Media: Aluminum oxide or garnet is ideal for preparing surfaces.
- Degreaser or Acetone: For thoroughly cleaning the item before coating.
- Curing Oven: Required for heat-cured Cerakote; a dedicated oven is recommended.
- Personal Protective Equipment (PPE): Gloves, respirator, and safety glasses to ensure safety.
- Masking Tape and Stencils: For protecting areas you don’t want coated and creating designs.
- Lint-Free Cloths and Cleaning Rags: To wipe down surfaces without leaving residue.
Tips for Sourcing Materials
Purchase high-quality tools and materials from reputable suppliers or directly from Cerakote manufacturers. Investing in quality equipment ensures better results and a smoother process.
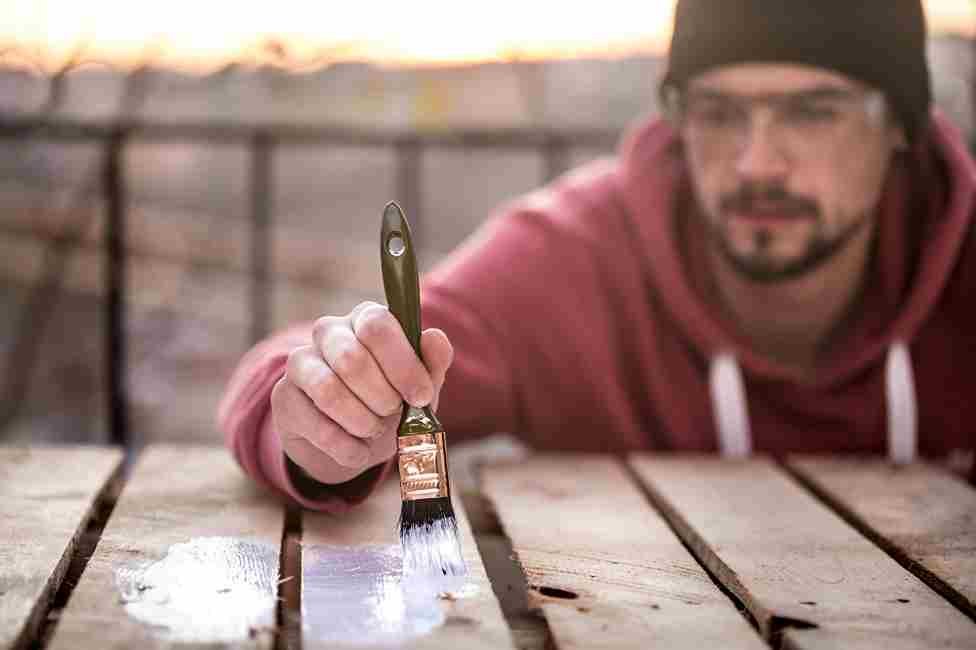
Preparing the Surface for Cerakoting
Importance of Surface Preparation
Proper surface preparation is critical for ensuring the Cerakote adheres well and provides a durable finish. Skipping this step can lead to peeling, uneven coating, or poor durability.
Step 1: Disassemble the Item
Carefully disassemble the object to ensure all parts are coated evenly. Remove any components that don’t require Cerakote and document the disassembly process to simplify reassembly later.
Step 2: Clean the Surface
Use a degreaser or acetone to thoroughly clean the surface, removing all oils, dirt, or contaminants. Even a small amount of residue can compromise the coating’s adhesion. Allow the item to dry completely before moving to the next step.
Step 3: Sandblasting
Sandblasting creates a textured surface that improves adhesion. Use aluminum oxide or garnet as blasting media, and ensure the surface is evenly blasted. Avoid over-sanding, as this can damage the material.
Step 4: Masking
Use high-quality masking tape or stencils to cover areas you don’t want coated, such as threads or internal components. Ensure the tape is applied smoothly to achieve clean lines and sharp designs.
Applying Cerakote at Home
Step 1: Mixing the Cerakote
Follow the manufacturer’s instructions to mix the Cerakote with the appropriate hardener. Use accurate measurements to ensure consistent results. Stir thoroughly to avoid clumps or uneven texture.
Step 2: Setting Up the Spray Gun or Airbrush
Adjust the spray gun’s pressure and spray pattern for a smooth application. Practice on a test surface to ensure even spraying before working on your actual project.
Step 3: Applying the First Coat
Hold the spray gun 6–8 inches away from the surface and apply the Cerakote in thin, even coats. Use a consistent motion to avoid drips, runs, or uneven coverage. Allow the first coat to flash off (dry slightly) before applying additional layers.
Step 4: Applying Additional Coats
If needed, apply additional coats to achieve full coverage or desired color depth. Ensure each layer is thin to maintain a smooth finish and avoid buildup.
Step 5: Allowing the Coating to Set
Let the coated item sit for a brief period to allow the Cerakote to set before moving it for curing.
Curing the Cerakote
Heat-Cured Cerakote
Set your curing oven to the recommended temperature (typically 250–300°F) and place the item inside. Maintain consistent heat for the specified curing time, usually 1–2 hours. Handle the item carefully when removing it from the oven.
Air-Cure Cerakote
For items that cannot be heated, use air-cure Cerakote. Allow the item to cure in a well-ventilated area for the recommended time, which can range from 5–7 days.
Reassembling and Final Touches
After curing, carefully reassemble the item, taking care not to scratch the new finish. Inspect the coated surface for any imperfections or missed spots. Perform touch-ups if necessary and enjoy your beautifully finished project!
Common Mistakes to Avoid When Cerakoting at Home
- Skipping Surface Preparation: This leads to poor adhesion and durability issues.
- Applying Coating Too Thickly: Results in drips and uneven texture; thin coats are key.
- Not Following Curing Instructions: Inconsistent curing can affect the finish’s durability.
- Using Low-Quality Tools: Investing in quality equipment ensures better results.
Frequently Asked Questions About How to Cerakote at Home
Can I Cerakote Plastic or Wood Items?
Yes, but ensure the material is compatible with Cerakote and follow specific preparation steps.
How Long Does Cerakote Last?
When applied correctly, Cerakote can last for years, providing excellent durability and protection.
Do I Need a Professional-Grade Oven for Curing?
A dedicated curing oven is recommended for consistent heat, but small projects can use a toaster oven.
Is Cerakote Waterproof?
Yes, Cerakote provides excellent water resistance, protecting items from moisture and corrosion.
Can I Remove Cerakote if I Make a Mistake?
Yes, but it requires sandblasting or chemical removal, which can be time-consuming.
Conclusion
Learning how to Cerakote at home is a valuable skill that allows you to customize and protect your items with a professional-grade finish. While the process requires patience, proper tools, and attention to detail, the results are well worth the effort. From preparation to curing, following these steps ensures a durable and aesthetically pleasing coating that lasts for years.
Ready to transform your gear? Try Cerakoting your own items and share your experience with others. Don’t forget to protect your skin, follow safety guidelines, and enjoy the satisfaction of a job well done!