
Do you love oysters but feel intimidated by the idea of shucking them yourself? Don’t worry—learning how to shuck oysters at home is easier than you think. With the right tools, techniques, and a little patience, you can enjoy fresh, delicious oysters in the comfort of your home. Not only will you save money by skipping the restaurant, but you’ll also impress guests with your newfound skill and elevate any dining experience.
In this comprehensive guide, we’ll cover everything you need to know about shucking oysters, from choosing the right tools to serving them like a pro. By the end, you’ll be ready to confidently open your own oysters and savor their briny goodness.
Understanding Oysters: What You Need to Know Before Shucking
What Are Oysters?
Oysters are a type of shellfish prized for their unique flavor and texture. These bivalve mollusks are found in oceans around the world and come in a variety of types, including Atlantic, Pacific, and Kumamoto oysters. Each type has its own distinct taste, influenced by the waters where they’re harvested.
Why Shucking Oysters at Home Is Worth It
Shucking oysters at home has several advantages. First, it ensures maximum freshness, as you can enjoy them immediately after opening. Second, it’s cost-effective—buying oysters in bulk is often much cheaper than ordering them at a restaurant. Finally, it allows you to customize your experience with your favorite condiments and pairings. Learning how to shuck oysters at home also adds a fun, hands-on element to your oyster-eating experience.
Tools You’ll Need to Shuck Oysters at Home
Essential Tools
To shuck oysters safely and effectively, you’ll need the following tools:
- Oyster Knife: This is the most important tool for shucking. Its short, sturdy blade is designed to open oyster shells without breaking them.
- Protective Gloves or a Kitchen Towel: These protect your hand from the knife in case it slips.
- Sturdy Surface or Shucking Board: A stable workspace ensures the oyster stays in place while you work.
- Bowl or Tray for Oyster Liquor: Use this to catch the flavorful juice inside the oyster.
Optional Tools
- Oyster Holder or Clamp: Provides extra stability for beginners.
- Serving Accessories: Lemon wedges, cocktail sauce, or mignonette for garnishing the oysters.
Pro Tip
Investing in high-quality tools makes the process easier and safer. Oyster knives and protective gloves are widely available online or at kitchen supply stores.
Step-by-Step Guide: How to Shuck Oysters at Home
Step 1: Prepare Your Workspace
Start by setting up a clean, organized workspace. Gather all your tools, including your oyster knife and protective gloves. Wash your hands thoroughly and sanitize the area to ensure proper hygiene.
Step 2: Inspect and Clean the Oysters
Check each oyster to make sure it’s fresh. The shells should be tightly closed, and there should be no foul odor. Rinse the oysters under cold running water to remove dirt and debris from the shells.
Step 3: Position the Oyster
Place the oyster on a flat surface with the hinge—the pointed end—facing you. Use a kitchen towel or glove to hold the oyster firmly, covering your hand for protection.
Step 4: Insert the Knife
Locate the hinge at the back of the oyster. Insert the tip of the oyster knife into the hinge at a slight angle. Apply steady pressure, but don’t force the knife too hard.
Step 5: Twist and Pry Open
Once the knife is inserted, twist it gently to pop the top shell open. Be careful not to spill the oyster liquor, as it’s an essential part of the oyster’s flavor.
Step 6: Remove the Top Shell
Slide the knife along the inside of the top shell to cut through the muscle holding the shell closed. Discard the top shell.
Step 7: Detach the Oyster from the Bottom Shell
Use the knife to cut the muscle connecting the oyster to the bottom shell. Be sure to preserve the oyster liquor in the shell.
Step 8: Serve and Enjoy
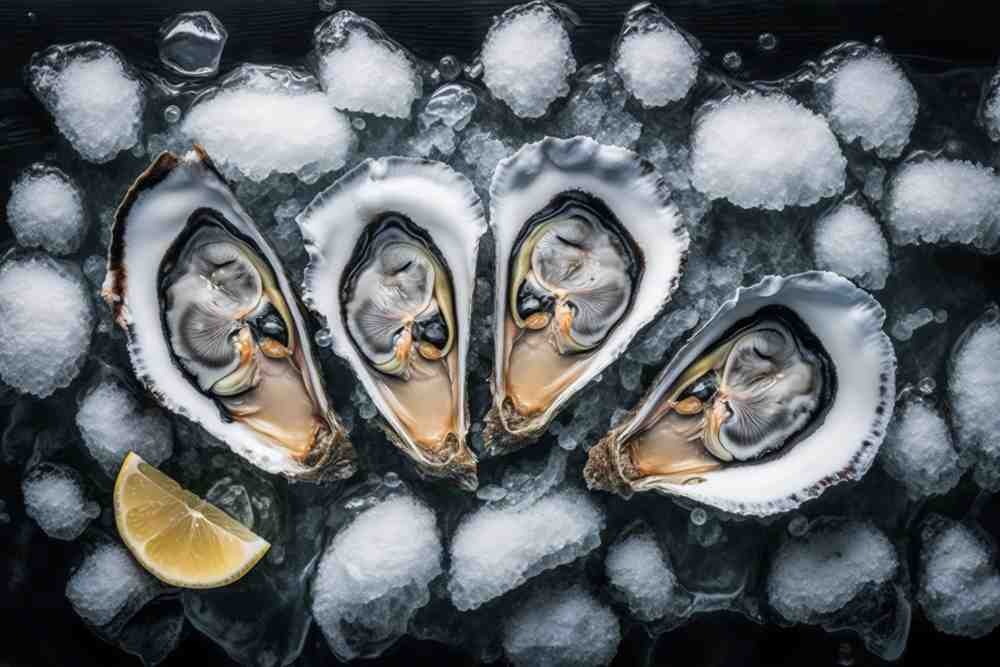
Serve the oysters on a bed of crushed ice with lemon wedges, hot sauce, or mignonette. Enjoy them immediately for the freshest flavor.
Common Mistakes to Avoid When Shucking Oysters
Using the Wrong Tools
A proper oyster knife is essential. Avoid using regular kitchen knives, as they can slip and cause injury.
Applying Too Much Pressure
Forcing the knife can damage the oyster meat or lead to accidents. Take your time and use steady, controlled movements.
Skipping Cleaning
Dirty shells can introduce grit or bacteria, so always rinse the oysters thoroughly before shucking.
Discarding the Oyster Liquor
The liquor inside the oyster is packed with flavor. Be careful not to spill it while opening the shell.
Pro Tip
Patience and practice are key. Don’t rush the process—it takes time to develop the right technique.
Safety First: Tips to Avoid Injuries While Shucking Oysters
Use Protective Gear
Always wear gloves or use a thick kitchen towel to protect your hand.
Knife Safety
Keep your hand out of the knife’s path and use a sharp oyster knife for better control.
Work on a Stable Surface
Ensure the oyster is secure on a flat, non-slip surface to prevent accidents.
First Aid Tips
If you accidentally cut yourself, clean the wound immediately and apply a bandage. Seek medical attention if the injury is severe.
Serving and Pairing Suggestions for Oysters
How to Serve Freshly Shucked Oysters
Arrange the oysters on a bed of crushed ice to keep them cold. Add lemon wedges, cocktail sauce, or mignonette for garnishing.
Pairing Oysters with Drinks
Oysters pair beautifully with Champagne, Sauvignon Blanc, or light beers. For non-alcoholic options, sparkling water with a squeeze of citrus works well.
Pro Tip
Elevate your oyster presentation by using a decorative platter or adding edible seaweed for a coastal touch.
How to Store Oysters Before and After Shucking
Before Shucking
Store live oysters in the refrigerator, covered with a damp cloth to keep them from drying out. Avoid submerging them in water, as this can kill them.
After Shucking
Refrigerate shucked oysters in their liquor, covered tightly, and consume them within a day. Discard any leftovers that smell off or appear slimy.
Frequently Asked Questions (FAQs)
How do I know if an oyster is safe to eat?
Fresh oysters have tightly closed shells and a briny, ocean-like smell. Discard any with cracked shells or foul odors.
Can I shuck oysters without an oyster knife?
While it’s possible to use alternatives like a flathead screwdriver, an oyster knife is much safer and more effective.
What’s the best way to clean oysters before shucking?
Rinse them under cold running water and scrub the shells with a stiff brush to remove dirt and debris.
How long does it take to learn how to shuck oysters at home?
With practice, most people can master the basics in a few sessions. Start slow and build confidence over time.
Final Thoughts
Learning how to shuck oysters at home is a rewarding skill that allows you to enjoy fresh, delicious seafood anytime. By following the steps outlined in this guide, you can shuck oysters safely, avoid common mistakes, and elevate your dining experience with creative serving ideas. Whether you’re hosting a dinner party or indulging in a solo treat, freshly shucked oysters are sure to impress.