
Have you ever found yourself staring at your grown-out UV gel nails, wondering how to remove them without a trip to the salon? UV gel nails are durable and beautiful, but removing them can seem like a daunting task if you’re unfamiliar with the process. The good news is that with the right tools and a little patience, you can safely learn how to remove UV gel nails at home without damaging your natural nails.
This guide will walk you through everything you need to know about the proper removal process, tools required, and aftercare tips to keep your nails healthy.
What Are UV Gel Nails and Why Are They Popular?
What Are UV Gel Nails?
UV gel nails are a type of long-lasting manicure that uses a special gel polish cured under a UV or LED light. Unlike traditional nail polish, UV gel nails create a hard, shiny coating that lasts for weeks without chipping.
Why People Love UV Gel Nails
UV gel nails are popular because they:
- Offer a glossy, salon-quality finish.
- Last longer than regular nail polish, making them perfect for busy schedules or special occasions.
- Provide durability even for those with brittle nails.
Challenges of Removing UV Gel Nails at Home
One of the downsides of UV gel nails is their strong adhesive properties, which make them harder to remove than regular polish. Improper removal, such as peeling or scraping, can lead to nail damage. Before diving into how to remove UV gel nails at home, it’s essential to understand why a proper technique is necessary.
Why Proper Removal of UV Gel Nails Is Essential
Risks of Improper Removal
If UV gel nails are not removed correctly, they can:
- Damage the natural nail bed by peeling off layers of the nail.
- Thin or weaken your nails, making them more prone to splitting or breaking.
- Cause irritation or infections if the skin around the nail is damaged.
Benefits of Safe Removal
Learning how to remove UV gel nails at home safely ensures:
- Healthy and strong natural nails.
- A pain-free removal process.
- Reduced risk of long-term nail damage.
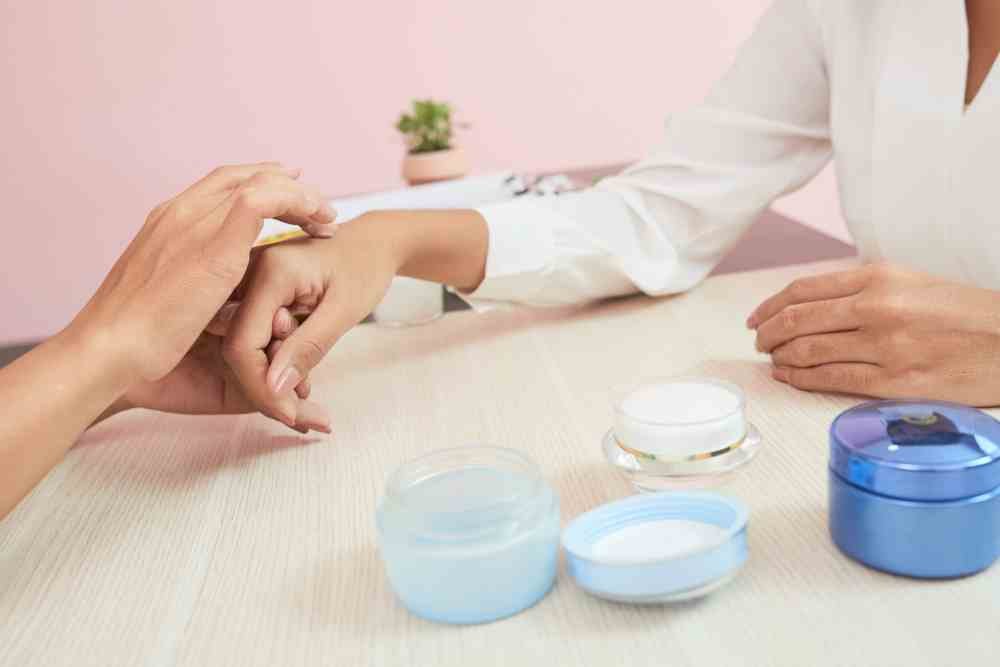
Tools and Materials You’ll Need
Essential Items for Removing UV Gel Nails
To remove UV gel nails at home, you’ll need:
- Acetone: Use 100% pure acetone for the best results.
- Cotton balls or pads: To soak in acetone and apply to your nails.
- Aluminum foil strips: To wrap around your nails and secure the cotton.
- Nail buffer and file: To remove the shiny topcoat and smooth the nail surface.
- Cuticle pusher or orangewood stick: For gently removing softened gel.
- Nail clipper and scissors: To trim your nails before removal.
- Bowl (optional): For soaking your nails in acetone.
- Hand lotion or cuticle oil: To hydrate your nails and skin post-removal.
Optional Tools for an Easier Process
- Nail soak-off clips: Reusable clips that hold the acetone-soaked cotton in place.
- Warm towel: Wrapping your hands in a warm towel can speed up the acetone process.
Having the right tools is essential when learning how to remove UV gel nails at home efficiently and safely.
Preparing Your Nails for Removal
Step 1: Trim and File the Nails
Start by trimming your nails to a manageable length using nail clippers. Then, use a nail file to gently buff off the shiny topcoat of the gel. This step allows the acetone to penetrate the layers of gel more effectively.
Step 2: Protect the Skin Around Your Nails
Apply a layer of petroleum jelly or cuticle oil to the skin around your nails. This helps prevent dryness or irritation from the acetone.
Step 3: Gather All Materials in One Place
Set up a comfortable workspace with all your tools and materials within reach. This preparation minimizes hassle and makes the process smoother. Proper preparation is the first step in mastering how to remove UV gel nails at home.
Step-by-Step Guide: How to Remove UV Gel Nails at Home
Step 1: Soak Cotton Balls in Acetone
Saturate a cotton ball or pad with acetone. Ensure the cotton is thoroughly soaked but not dripping to avoid wasting the product.
Step 2: Secure the Cotton Balls with Foil or Soak-Off Clips
Place the acetone-soaked cotton ball on your nail and wrap it tightly with aluminum foil. Alternatively, use soak-off clips for a reusable and mess-free option. Leave this in place for 15-20 minutes.
Step 3: Check the Progress
After 15-20 minutes, gently press and twist the foil or clip while removing it to loosen the gel. If the gel doesn’t lift easily, reapply the acetone-soaked cotton and wait an additional 5-10 minutes.
Step 4: Use a Cuticle Pusher to Remove Gel Residue
Gently push off the softened gel using a cuticle pusher or orangewood stick. Avoid scraping too hard to protect your natural nails.
Step 5: Buff and Smooth Your Nails
Use a nail buffer to remove any remaining gel residue and smooth the surface of your nails.
Step 6: Hydrate Your Nails and Hands
Finish by applying cuticle oil and hand lotion to restore moisture and keep your nails healthy. Following these steps ensures you can safely and effectively learn how to remove UV gel nails at home.
Alternative Methods to Remove UV Gel Nails at Home
Soaking in Acetone Bowl
If you prefer not to use foil or clips, you can soak your nails in a bowl of acetone. This method works well but exposes your skin to more acetone, so moisturizing afterward is crucial.
Using Non-Acetone Gel Removers
Non-acetone gel removers are gentler on the skin but may take longer to work.
Filing Off the Gel
For thick gel layers, you can file off the gel using a coarse nail file. Be cautious not to over-file and damage your natural nails.
Professional Assistance
If the gel proves too stubborn to remove at home, consider seeking professional help at a salon.
Common Mistakes to Avoid
Peeling or Picking at the Gel
Resist the urge to peel or pick at the gel, as this can damage the natural nail.
Using Impure Acetone
Diluted acetone can prolong the removal process. Always use 100% pure acetone.
Skipping the Buffing Step
Buffing the topcoat is essential for acetone to penetrate effectively.
Rushing the Process
Patience is key to avoiding nail damage. Rushing can lead to mistakes and unnecessary harm.
Post-Removal Nail Care Tips
Rehydrate Your Nails
Apply cuticle oil and hand cream to restore lost moisture.
Avoid Immediate Reapplication of Gel
Give your nails a few days to breathe before applying new gel polish.
Trim and File Regularly
Keep your nails short to prevent splitting or breakage.
Consider Nail Treatments
Use strengthening polishes or DIY remedies like coconut oil to restore nail health. After mastering how to remove UV gel nails at home, proper aftercare is vital.
Frequently Asked Questions (FAQs)
Can I remove UV gel nails without acetone?
Yes, but it’s more challenging. Non-acetone gel removers or filing are alternatives.
How long does it take to remove UV gel nails at home?
The process typically takes 20-30 minutes.
Is it safe to use acetone on sensitive skin?
Yes, but apply petroleum jelly around your nails to protect your skin.
What if the gel doesn’t come off completely?
Reapply acetone and repeat the process.
How often should I remove and reapply UV gel nails?
Give your nails a break every two to three applications.
Conclusion
Removing UV gel nails at home doesn’t have to be a difficult or damaging process. By following this step-by-step guide and using the right tools, you can safely learn how to remove UV gel nails at home while preserving the health of your natural nails. With a little patience and care, you’ll be able to enjoy healthy and beautiful nails without a trip to the salon.